Gas Fee Payment in wBTC using Meta Transactions (OpenGSN & ERC-2771)
In this example, we will show how wBTC can be used for gas fee payments using the OpenGSN and ERC-2771 standard on the BOB testnet. This enables users to transact without the necessity to own ETH.
Check out the live demo at demo-meta-transactions.gobob.xyz.
Check out the code of the demo in this repository.
OpenGSN
OpenGSN, or the Ethereum Gas Station Network, is a decentralized solution abstracting gas fee payments away from users. OpenGSN enables gasless transactions, allowing users to interact with smart contracts without needing ETH. It provides use cases such as privacy-focused transactions, payments in ERC-20 tokens, off-chain payments, and onboarding subsidies. Learn more in OpenGSN docs.
Smart contract changes
To enable OpenGSN functionality in smart contracts, developers need to make specific modifications. The smart contracts must inherit from the ERC2771Recipient contract. It's crucial to note that, when working with GSN recipient contracts, developers must refrain from using msg.sender directly. Instead, they should utilize _msgSender(), a function provided by ERC2771Recipient. This ensures accurate retrieval of user addresses during transactions and facilitates seamless integration with the Gas Station Network.
Read the full smart contract modification instructions here.

Using the dApp
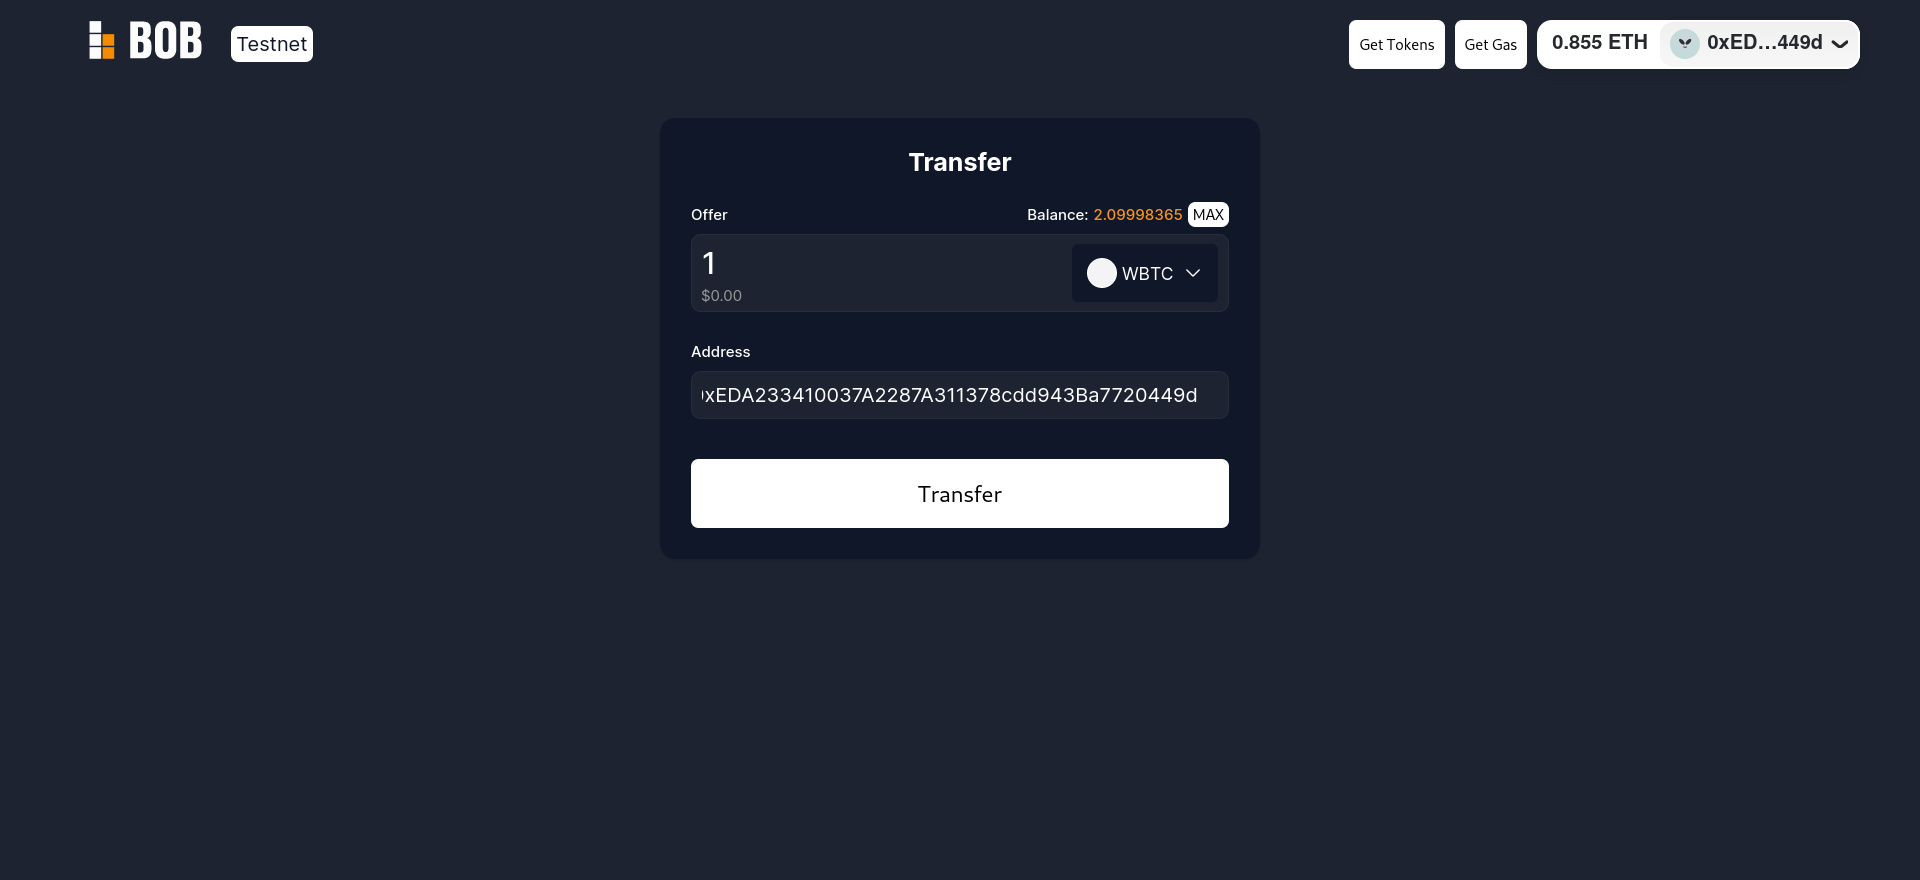
This application contains a simple form that allows you to transfer wBTC between accounts with the gas fee paid in wBTC. Simply enter the wBTC amount and the recipient's EVM address and the transaction will be sent to the Open Gas Network relay and relayed using the wBTC paymaster.
Before the first relayed transaction is done, the paymaster smart contract has to be approved to spend your wBTC. That is why there will be a transaction request before the first relayed transfer transaction.
Try it out
- Go to demo-meta-transactions.gobob.xyz
- Connect with your MetaMask account and get wBTC by clicking on the 'Get Tokens' button in the application header. (You will receive 30,000 wBTC that you can spend.)
- Add wBTC to your MetaMask, wBTC address is
0x833d9398A3DBa68994AdE7Db42Ff597831933aeD - Input the amount you wish to send and the recipient's address into the form fields.
- Click on 'Approve & Transfer' to approve the paymaster to spend your wBTC and to sign the relayed transaction.
- Wait for the transfer transaction to be relayed.
Local development
Contract addresses and links
- wBTC contract address:
0x833d9398A3DBa68994AdE7Db42Ff597831933aeD - Paymaster contract address:
0x7F1c9BFcBcc36a09a24473af485cf25e6cfe3Fd6 - OpenGSN relayer:
https://gsn-relay-fluffy-bob.gobob.xyz
Installing the project
- Install pnpm
- Run
pnpm install
Starting the project
- Run
pnpm run dev - Open
localhost:5173in browser.
Interacting with OpenGSN relay
To allow simple interaction with the relay ethers.Contract instance is created using OpenGSN provider:
const getRelayedContract = async (contractType: ContractType) => {
  if (!window.ethereum) {
    throw new Error('Injected provider not found!');
  }

  const { address, abi } = contracts[contractType];

  const config = {
    preferredRelays: ['https://gsn-relay-fluffy-bob.gobob.xyz'],
    performDryRunViewRelayCall: false,
    gasPriceSlackPercent: 1000,
    maxPaymasterDataLength: 100,
    paymasterAddress: erc20PaymasterAddress
  };

  const gsnProvider = await RelayProvider.newProvider({
    provider: window.ethereum,
    config,
    overrideDependencies: { asyncPaymasterData: getErc20PaymasterData }
  }).init();

  const ethersProvider = new providers.Web3Provider(gsnProvider);

  const relayedContract = new Contract(address, abi, ethersProvider.getSigner());

  return relayedContract;
};
Then the Contract instance can be used in a standard way:
const transferTx = await relayedContract.transfer(form.address, atomicAmount.toString());

await transferTx.wait();